
There’s something incredibly soothing about creating art with your hands. In the hustle of 2025, we all crave a little calm—a little me time—and that’s exactly what the beautiful art of decoupage offers.
Whether you’re a beginner crafter, a DIY enthusiast, or someone looking to revive old furniture or décor, decoupage is your go-to. It’s simple, versatile, and allows you to turn ordinary objects into gorgeous, personalized pieces of art.
And guess what? With brands like Papericious offering top-quality decoupage papers, sponges, and mediums, it’s easier than ever to get started. So let’s dive into the best decoupage techniques of 2025 that can help you transform your creative journey.
What is Decoupage?
In simple terms, decoupage is the art of decorating a surface by gluing paper cutouts onto it and sealing them with varnish or a decoupage medium. It’s a centuries-old craft that has found new life in the DIY world, especially among those who love sustainable and handmade décor.
From trays and photo frames to jars, boxes, and even furniture—anything can be decoupaged.
Tools & Materials You Need to Start Decoupage
Before we dive into the techniques, here’s your essential decoupage starter kit:
-
Decoupage papers or napkins (available at Papericious)
-
Decoupage glue or medium (like Mod Podge or Papericious Deco Medium)
-
Flat brush or sponge
-
Acrylic paint (optional for base coating)
-
Sandpaper (for prepping the surface)
-
Sealer or varnish (for a durable finish)
✅ Pro Tip: Use Papericious’ premium decoupage papers for intricate designs and smooth application. They’re tear-resistant and super beginner-friendly!
Top 5 Decoupage Techniques to Try in 2025
Let’s now walk through the best trending decoupage techniques this year. Whether you're working on wood, glass, or metal, these tips will elevate your craft:
1. The Smooth Surface Technique
This is perfect for beginners! Simply sand your surface smooth, apply a layer of glue, place your paper, and flatten it with a plastic card or sponge.
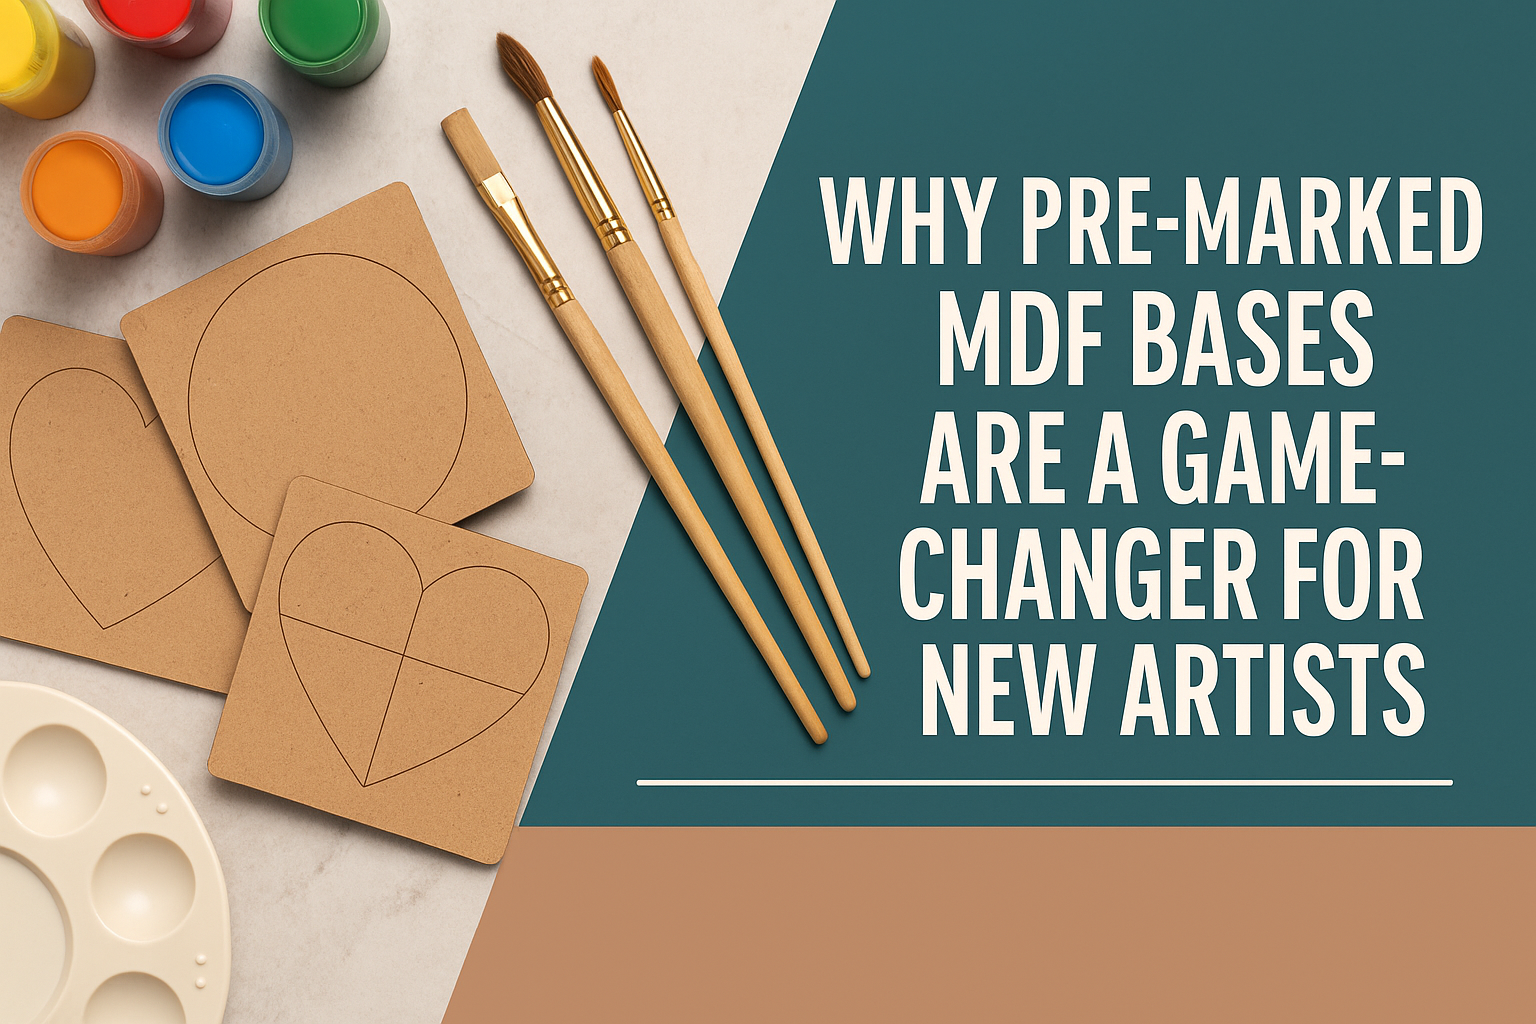
Great For: MDF coasters, trays, and wooden photo frames
2. The Crinkle Technique
Love a vintage or rustic look? This technique leaves slight wrinkles and texture in the paper to give a worn, aged effect.
Steps:
-
Crumple your decoupage paper slightly.
-
Apply glue on the surface and lay the paper gently.
-
Don’t smooth out all the wrinkles—leave some for texture.
Great For: Antique boxes, rustic kitchen containers
3. The Layered Collage Method
Want to get more creative? Try layering different paper patterns and shapes like flowers, quotes, or butterflies to form a collage.
Tips:
-
Use contrasting designs for pop.
-
Blend edges with matching acrylic paint.
Great For: Canvas panels, mixed media art boards
4. Reverse Decoupage on Glass
This 2025 trend is gaining popularity fast! Reverse decoupage involves gluing the paper on the underside of a transparent glass surface, such as trays, coasters, or jars.
Steps:
-
Clean the glass surface thoroughly.
-
Apply glue and paper facing downward on the bottom side.
-
Seal and let dry.
Great For: Glass candle holders, mason jars, and mirrors
5. The Ombre + Decoupage Combo
For a stylish modern twist, create a painted ombre background before applying your decoupage art. This technique adds depth and blends beautifully with floral or abstract designs.
Great For: DIY name boards, wooden trays, and wall art
How to Avoid Common Decoupage Mistakes
Even pros make mistakes—but here’s how to fix or avoid them:
-
Bubbles? Use a sponge roller or plastic card to smooth them out gently.
-
Tearing? Always cut or feather the paper edges before placing.
-
Sticky finish? Apply a final coat of clear varnish or mod podge matte.
✅ Bonus Tip: Always let each layer dry completely before adding the next.
Where to Find the Best Decoupage Supplies?
Look no further than Papericious.com. Their decoupage collection features:
-
A4-sized designer papers
-
Deco mediums & brushes
-
Pre-cut MDF bases ready for decoupage
-
Starter kits perfect for beginners
All products are Made in India, crafted with care, and delivered with love.